安装crontab 依次执行以下命令
1
2
yum -y install vixie-cron yum -y install crontabs
crontab相关命令
1
2
3
4
5
6
7
8
9
10
//启动服务 service crond start //关闭服务 service crond stop //重启服务 service crond restart //重新载入配置 service crond reload //查看crontab服务状态 service crond status
设置开机自启动
1 chkconfig --level 345 crond on
安装mutt、msmtp CentOs
1
2
3
4
# 更新所有的软件包 yum update -y # 安装mutt、msmtp yum install mutt msmtp -y
Debian
1
2
apt update -y apt install mutt msmtp -y
配置.muttrc、.msmtprc文件 进入用户根目录
新建.muttrc文件
.muttrc内容
1
2
3
4
5
6
7
8
9
10
11
set sendmail="/usr/bin/msmtp" set use_from=yes #发件人名字 set realname="Ryan Wang" #发件人地址 set from=xxxxxxxxx@163. com set envelope_from=yes set charset="utf-8" set send_charset="utf-8" set content_type = "text/html\;charset=utf-8"
新建.msmtprc文件
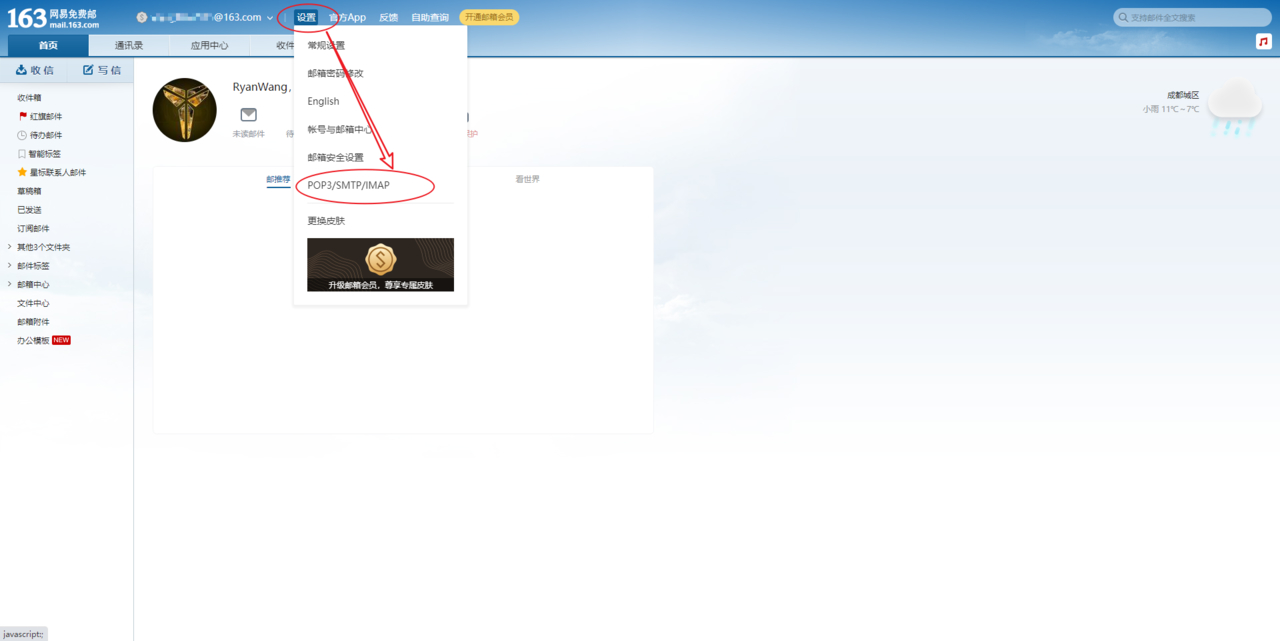
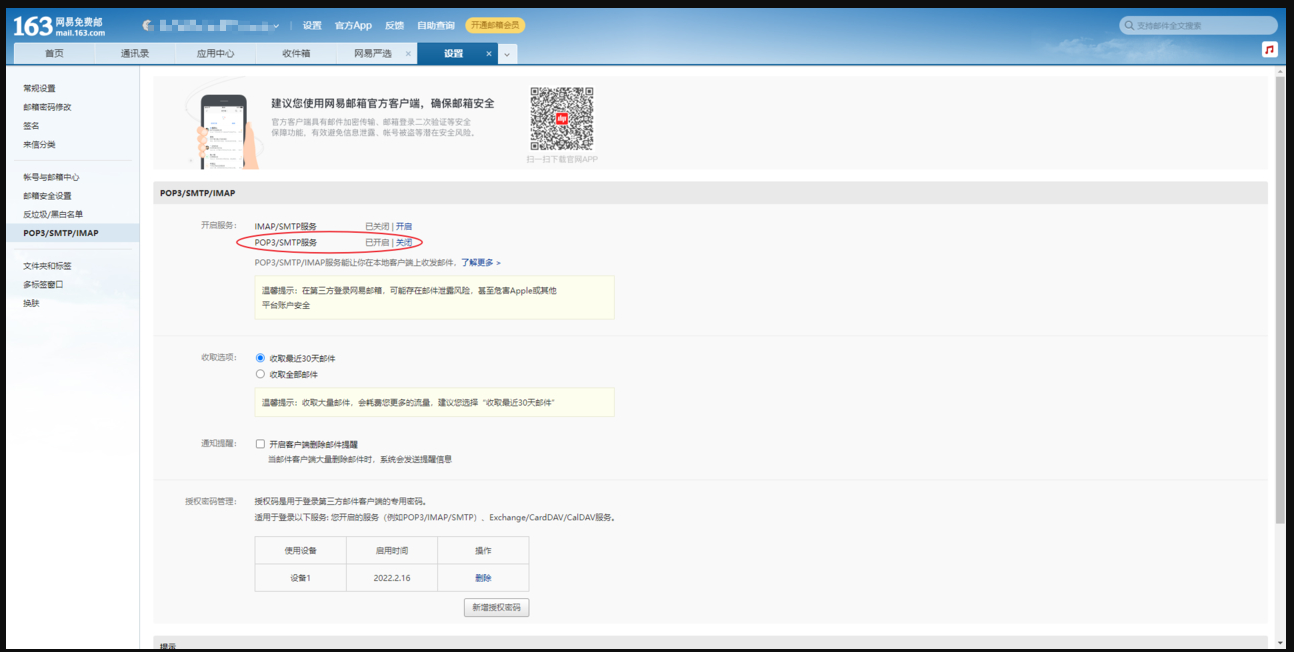
获取网易邮箱授权码
3.开启POP3/SMTP服务,根据要求发送短信即可,然后网易会发送一个邮箱授权码(.msmtprc文件会使用到)
.msmtprc内容
1
2
3
4
5
6
7
8
9
10
11
12
13
14
15
16
account default #代理邮箱服务器,这里以163 邮箱为例 host smtp.163 .com #端口 port 465 #同上发件人地址 from xxxxxxxxx@163. com tls_starttls off tls on tls_certcheck off #验证方式 auth login #用户名 user xxxxxxxxx@163. com #邮箱授权码(网易提供邮箱授权码) password Sxxxxxxxxx
设置.msmtprc文件权限
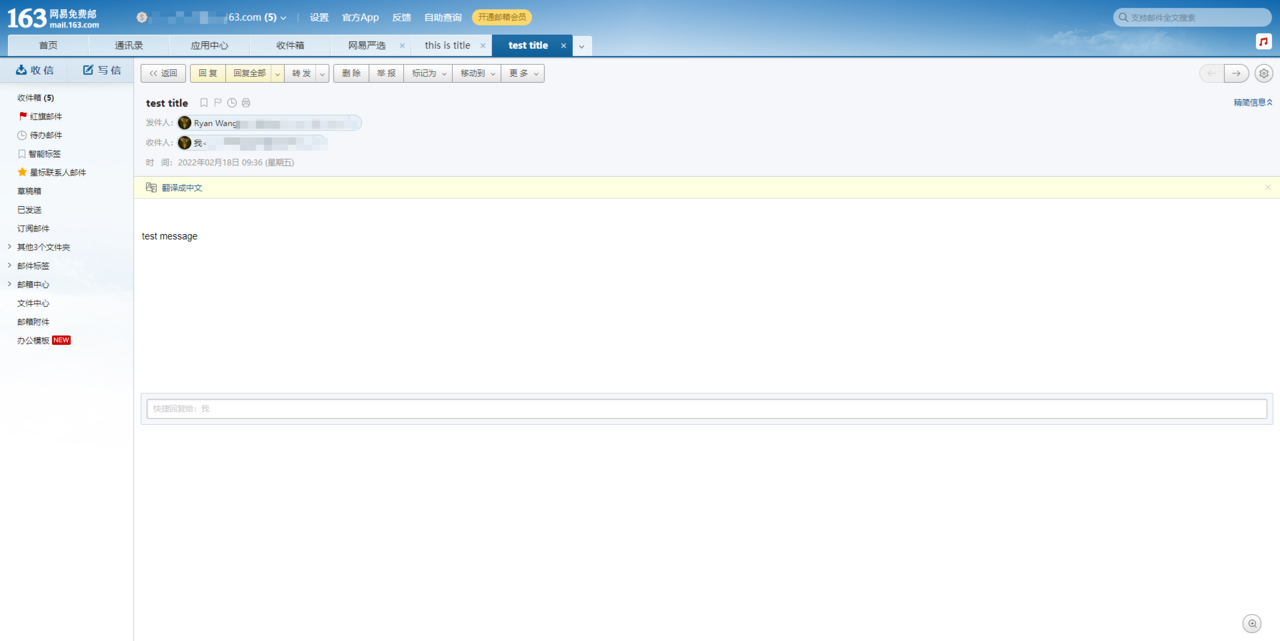
测试发送邮件
1 echo "test message" |mutt -s "test title" xxxxxxxxxx@163. com
MySQL数据库备份脚本文件
新建一个sh备份文件
1
2
cd /home/cron.d vim mysql-backup-solo.sh
mysl-backup-solo.sh内容如下
1
2
3
4
5
6
7
8
9
10
11
12
13
14
15
16
17
18
19
20
21
22
23
24
25
26
27
28
29
30
31
32
33
34
35
36
37
38
39
40
41
42
43
44
45
46
47
48
49
50
51
52
53
54
55
56
57
58
59
60
61
62
63
64
65
66
67
68
69
70
71
72
73
74
# !/bin/bash # 定义需要备份的数据库名 dbname=solo # 数据库备份文件存放位置 dbpath=/home/backup # 定义备份数据库时使用的用户名和密码 dbuser=username dbpasswd=password # 数据库备份的路径 backuppath=${dbpath}/mysql/${dbname} # 日志文件目录 logpath=${dbpath}/log/${dbname} # 数据库备份日志文件存储的路径 logfile=${logpath}/mysql.log # 数据库IP地址 dbhost=localhost # 以当前的时间作为备份的数据库命名。 dumpfile=${dbname}_$(date +%y%m%d%H%M) # 这个函数用来备份数据库 back_db() { # 将备份的时间、数据库名存入日志 echo "------"$(date +%Y-%m-%d%t%A%t%T)" Beginning database "${dbname}" backup--------" >>${logfile} # 备份数据库,如果有错误信息也记入日志。(此处为MySQL自带的备份数据位置) /usr/local/mysql/bin/mysqldump -h${dbhost} -u${dbuser} -p${dbpasswd} ${dbname} >${backuppath}/${dumpfile}.sql 2>> ${logfile} # 开始压缩数据文件 echo $(date +%Y-%m-%d%t%A%t%T)" Beginning zip ${backuppath}/${dumpfile}.sql" >> ${logfile} # 将备份数据库文件库压成ZIP文件,并删除先前的SQL文件。如果有错误信息也记入日志。 cd ${backuppath} && tar -zcvf ${dumpfile}.tar.gz ${dumpfile}.sql && rm ${backuppath}/${dumpfile}.sql 2>> ${logfile} # 将压缩后的文件名存入日志。 echo "backup file name:"${dumpfile}".tar.gz" >>${logfile} echo -e "-------"$(date +%Y-%m-%d%t%A%t%T)" Ending database "${dbname}" backup-------\n" >>${logfile} # 发送邮件 tail -n 50 ${logfile} | mutt -s "Db BackUp" xxxxxxxxx@163.com -a ${backuppath}/${dumpfile}.tar.gz echo "tail -n 50 ${logfile} | mutt -s \"Db BackUp\" xxxxxxxxx@163.com -a ${backuppath}/${dumpfile}.tar.gz" } # 这个函数用来删除30天前的数据,注意,这个脚本会删除当前目录下所有的早于30天前的文件 rm_oldfile() { # 查找出当前目录下30天前生成的文件,并将之删除 find ${backuppath} -type f -mtime +30 -exec rm {} \; } if [ ! -d "${backuppath}" ]; then echo "创建文件夹${backuppath}" mkdir -p ${backuppath} fi if [ ! -d "${logpath}" ]; then echo "创建文件夹${logpath}" mkdir -p ${logpath} fi # 切换到数据库备份的目录。如果不做这个操作,压缩文件时有可能会错误 cd ${backuppath} # 运行备份数据函数 back_db # 运行删除文件函数 rm_oldfile
添加该文件的执行权限
chmod +x /home/cron.d/mysql-backup-solo.sh
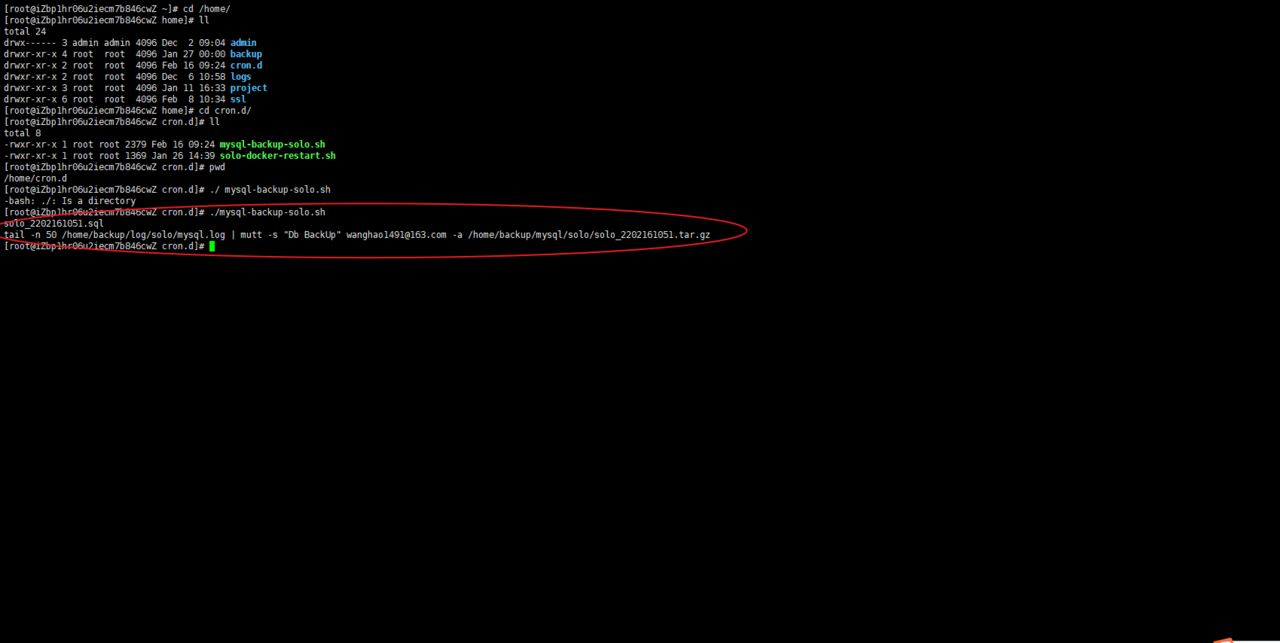
测试脚本
如图表示测试成功,可以在网易邮箱和服务器备份文件目录查看有一条备份数据
编写定时任务 执行以下命令
在编辑器中输入以下内容
1
2
# 每天0时0分执行该命令 0 0 * * * /home/cron.d/mysql-backup-solo.sh
然后保存退出即可
使用命令查看定时任务是否存在
如图表示成功,每天的0时0分就会执行定时任务通过脚本备份数据库并将备份文件发送至邮箱了。
crontab参数说明
*
*
*
*
*
command
分钟
小时
几号
月份
星期几
需要执行的命令
取值范围(0-59之间的任何整数)
取值范围(0-23之间的任何整数)
取值范围(1-31之间的任何整数)
取值范围(1-12之间的任何整数)
取值范围(0-7之间的任何整数,这里的0或7代表星期天)
系统的命令或自己编写的命令